Terraspace Cloud Setup
You can set up up Terraspace Cloud with these steps:
- Sign up for an account at Terraspace Cloud
- Configure Terraspace
- Deploy a stack
Sign up for a Terraspace Cloud account
- Go to Terraspace Cloud and sign up for an account
- Create an access token. This is under your profile “Settings / Tokens”. Note this access token for the next step.
You might want to set TS_TOKEN in your:
~/.bash_profile
export TS_TOKEN=ts-G85kAZcCiqOwcLiv
Configure Terraspace Cloud
Configure the cloud.org and cloud.project settings.
config/app.rb
Terraspace.configure do |config|
  config.cloud.org = "boltops"  # replace with your Terraspace Cloud org name
  config.cloud.project = "main" # replace with your project name
end
- org: The org is the organization you created when you signed up for an account.
- project: The project name is used as a “namespace” or “container” for your terraspace stacks. It can contain regular alpha characters, dashes, and numbers.
More Docs: Cloud Config
Deploy a Stack
After you’ve set up the first 2 steps, any stack updates will be tracked by Terrapace Cloud. Example:
terraspace up demo
When the update completes, you’ll see a link to the update:
Terraspace Cloud https://app.terraspace.cloud/boltops/main/demo/updates/update-nvEHbKSiGRe8nYTm
Note: By default, the Terraspace Cloud Stack url is only generated when changes are detected to keep a high signal-to-noise ratio. You can adjust this behavior with config.cloud.record
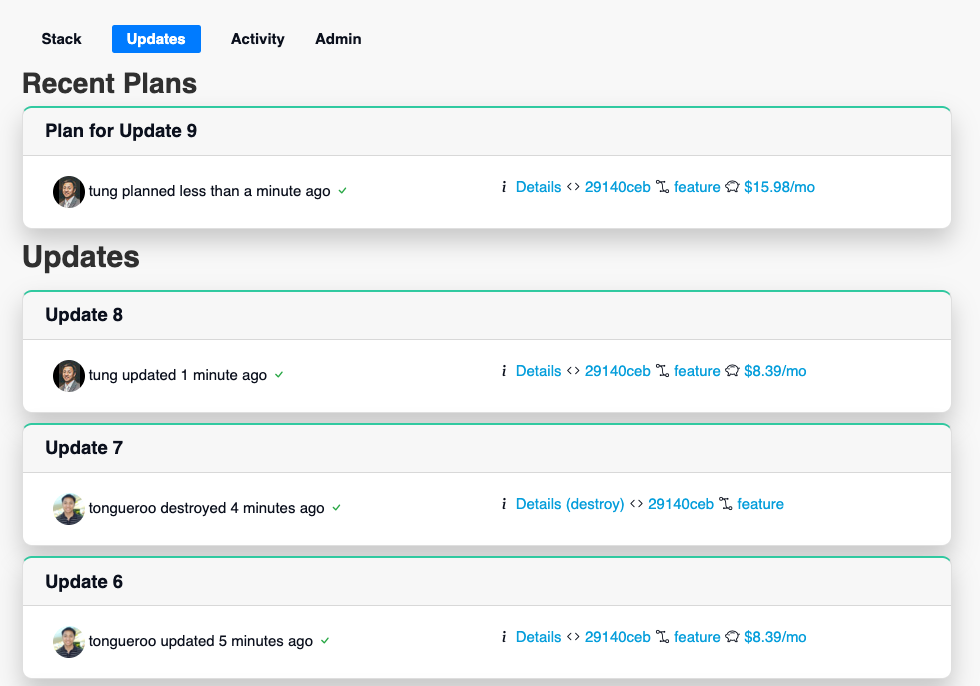
Dashboard
Here’s an example of what the dashboard looks like:

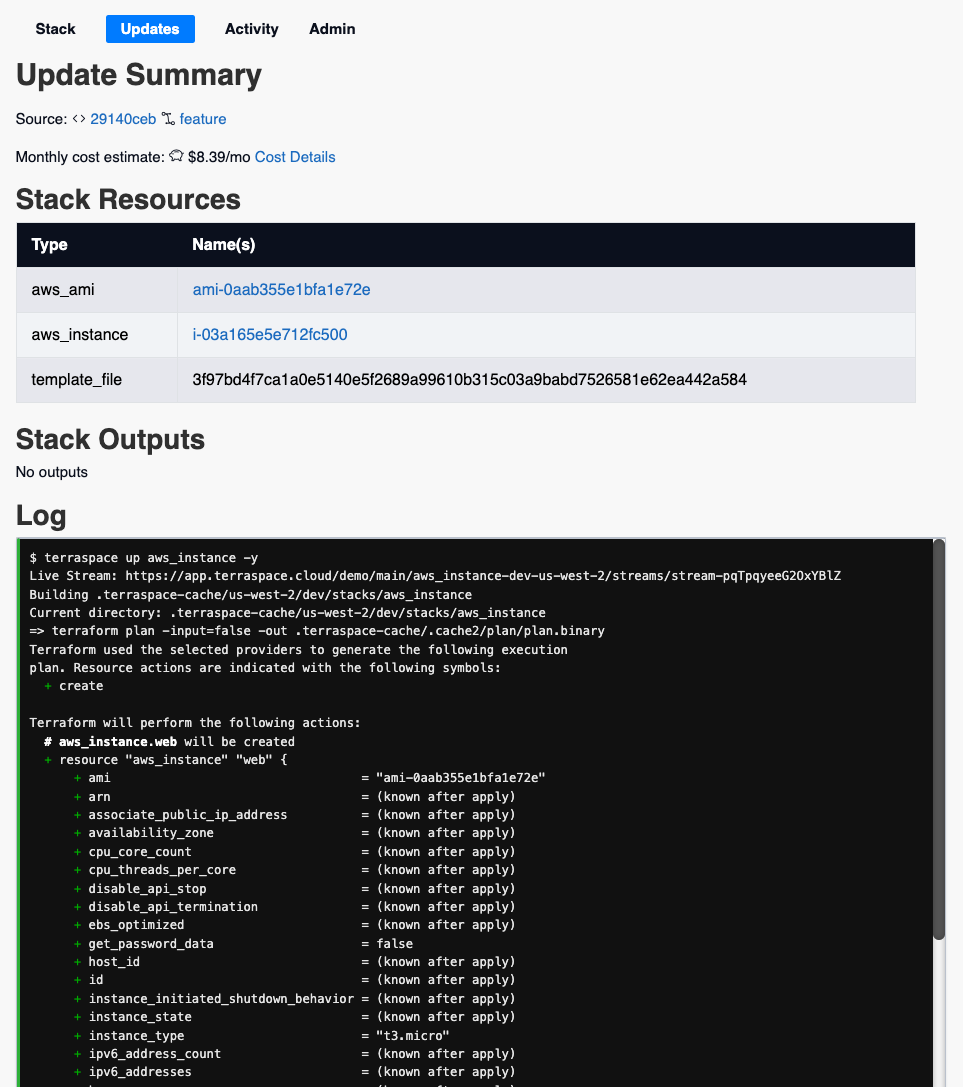
And update logs:


