
Manual Web Pipeline
Note: Premium video content requires a subscription.
The Web Pipeline is a pipeline designed to be run manually so a human can approve the changes. We’ll use it to apply the changes to production. Let’s take a look at it.
.gitlab-ci.yml
image: ruby:latest

stages:
# ...
  - plan prod
  - up prod
# ...

# Runs Manually Only (part 1 of 2)
plan_prod:
  stage: plan prod
  rules:
    - if: '$CI_PIPELINE_SOURCE == "web"'
  script:
    - TS_ENV=prod terraspace plan demo

# Runs Manually Only (part 2 of 2)
up_prod:
  stage: up prod
  rules:
    - if: '$CI_PIPELINE_SOURCE == "web"'
      when: manual # manual approval
  script:
    - TS_ENV=prod terraspace up demo -y
- The
if: $CI_PIPELINE_SOURCE == "web"condition is use to define a “web” pipeline that runs aterraspace planand thenterraspace upstage forTS_ENV=prod - The
when: manualis use so that the final apply requires a manual trigger.
Run Pipeline
Since TS_ENV=dev has already been run, let’s run the pipeline on TS_ENV=prod.
- Go to CI/CD -> Pipelines on the left-side menu.
- Click Run Pipeline on the upper right hand corner
- For Variables you can leave as is and click Run Pipeline to start the build.
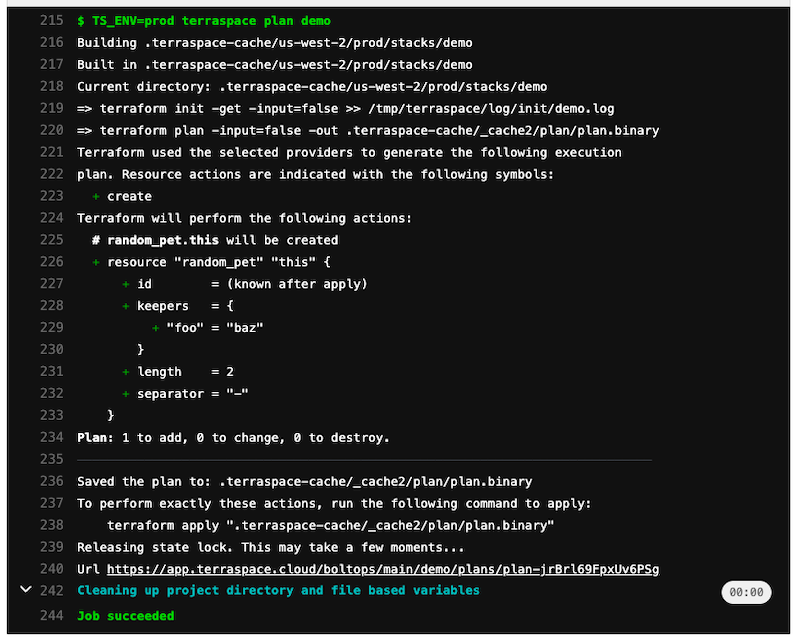
- You can click on each Stage to see the Logs and see the plan preview
- Once it gets to the Up prod stage, the Pipeline status will change to blocked
- You can click on the Stage and then click Run or hit the play button to apply.
Here’s the Run Pipeline button:
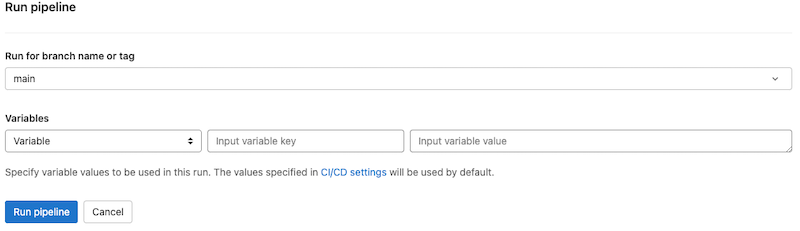
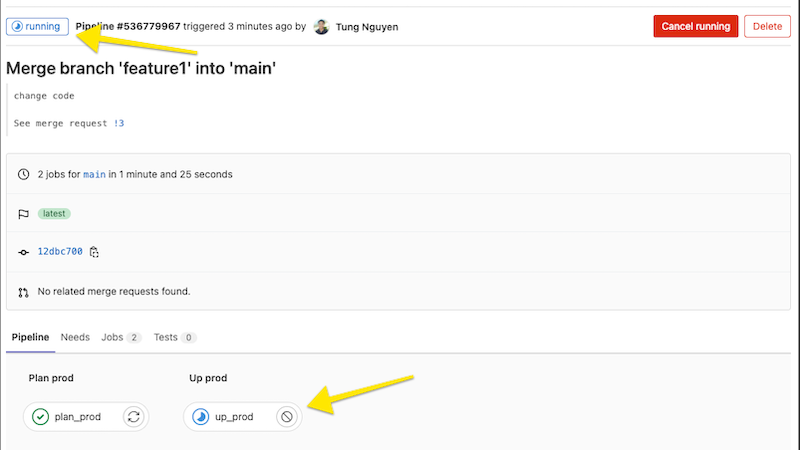
You’ll see it running.
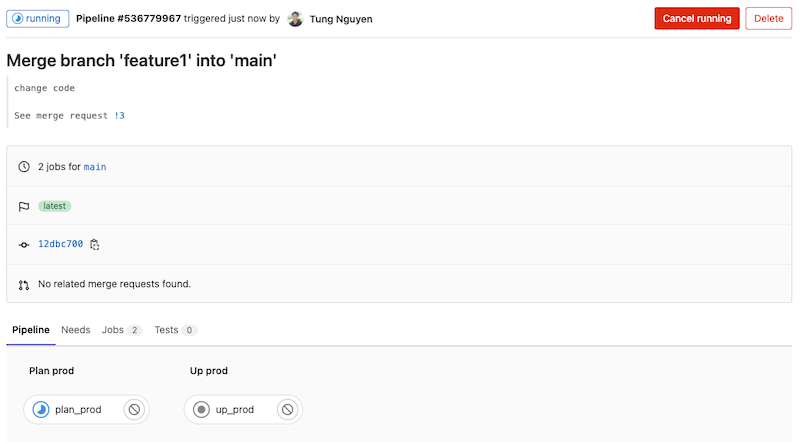
You can click on the first stage to see the plan logs.
The pipeline will then go in blocked status, waiting for you to trigger the next step manually.
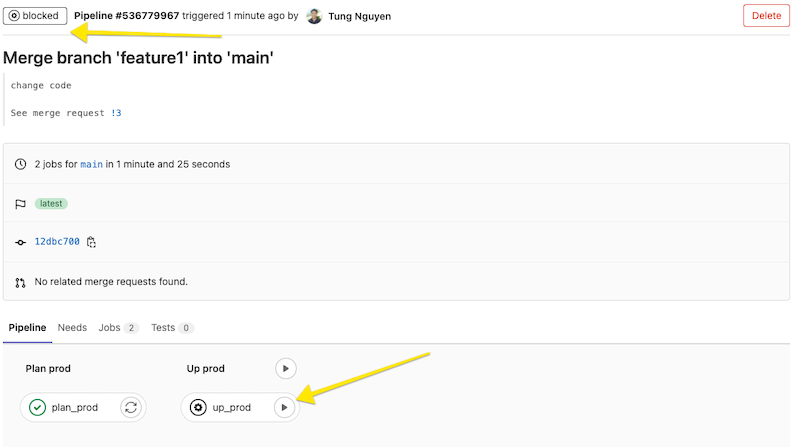
Clicking on the Play button will resume the pipeline into running state.
Results
After the job finishes, you’ll see something like this.
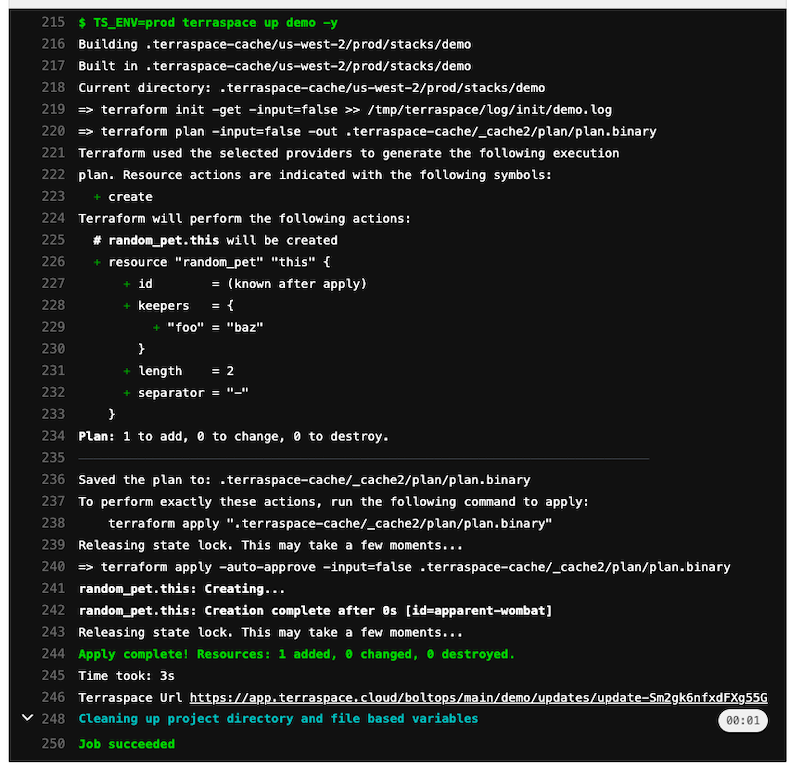
The changes have been applied to production.
Next, we’ll review what we learned.


